TL;DR
- Legendary items dramatically accelerate leveling and challenge completion in Borderlands 4
- BOD Shotgun and Rainbow Vomit provide unmatched versatility for diverse combat scenarios
- Triple Bypass Repkit and Super Soldier Shield offer game-changing utility and sustain
- Strategic gear selection enables efficient boss farming and high-difficulty content progression
- Target farming specific locations ensures consistent acquisition of top-tier equipment
In Borderlands 4, legendary equipment represents far more than just statistical upgrades—these items fundamentally transform your gameplay approach and progression speed. Acquiring the right legendary gear determines how rapidly you advance through levels, complete weapon challenges, and conquer high-difficulty encounters. Whether your primary focus involves boss farming, challenge completion, or pushing into endgame zones, strategic legendary selection creates smoother progression and enhanced combat effectiveness.
This comprehensive guide showcases the ten most impactful Borderlands 4 legendary items, ranging from versatile multi-category weapons to revolutionary shields and repkits. Regardless of your character build preference, these items deliver substantial improvements in damage output, healing capabilities, elemental coverage, cooldown management, and ammunition sustainability. Together, they establish the foundational toolkit every experienced Vault Hunter should maintain in their inventory.
Below, we analyze each item’s core mechanics, tactical advantages, and acquisition methods to streamline your target-farming efforts and accelerate character power development.
Core Mechanics: This exceptional weapon registers as five distinct firearm categories simultaneously: shotgun, assault rifle, sniper rifle, pistol, and SMG.
Strategic Advantages:
● Delivers consistent damage output suitable as foundation for specialized builds like Vex’s Bloodshot configuration
● Revolutionizes weapon challenge progression—every elimination counts toward five separate category objectives, dramatically reducing completion time
Critical Usage Insight: Ensure final blows originate directly from the weapon rather than skill-based effects (such as bleed damage), otherwise kills may not register properly
Acquisition Method: Carcadia District, Dominion – Abandoned Auger Mine (Toil of Spoiling Vis).
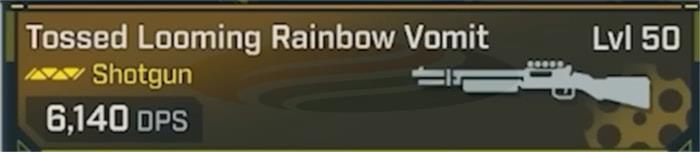
Core Mechanics: A Jakobs shotgun technically classified as non-elemental, yet it generates three randomized elemental damage types per shot.
Strategic Advantages:
● Offers unparalleled elemental coverage, ensuring effectiveness against virtually any enemy type
● Becomes increasingly valuable at elevated difficulty tiers where adversaries resist non-aligned elements but suffer catastrophic damage from matching ones
● Widely regarded as the premier weapon for farming Violtor, who possesses immunity to most ability-based damage sources (including bleeds and neutron capture effects on Harlo)
● Rainbow Vomit’s projectiles ricochet within Violtor’s vulnerability zone, replicating the classic “bore kill” mechanic from Bunker encounters, rapidly dismantling his health pool
Acquisition Method: Initiate the Enter the Electi Part 1 mission within Ruin Sumplands, Carcadia. Finishing the quest sequence (Enter the Electi 2 → The Council Divided → A Traitor Within → The Mole’s Gambit) unlocks access to Leader Willhamm combat, who drops the Rainbow Vomit.
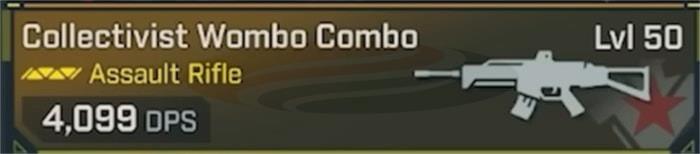
Core Mechanics: Among the game’s most effective assault rifles overall. Upon firing, it discharges explosive projectiles with extensive area-of-effect radius.
Strategic Advantages:
● Exceptionally potent against Vile-type enemies, which feature multiple crystalline components typically challenging to eliminate individually
● The explosive area damage strikes several crystals simultaneously, significantly accelerating engagement with these resilient opponents
● Functions ideally as a quick-swap solution when confronting crystal-armored foes requiring immediate resolution
Acquisition Method: Ripper Drill Site Saw’s Clench, situated within Ruined Sumplands, Carcadia—positioned directly above the Judgment’s Lapse silo structure.
Core Mechanics: Universal underbarrel modifications deliver some of the game’s highest instantaneous damage potential, rendering them indispensable for formidable enemies and boss encounters.
Strategic Advantages:
● Spread Launcher (available on Dahan and Jacob shotguns) stands out remarkably, capable of eliminating Vile enemies or bosses in single discharges, complemented by relatively brief recharge intervals
● Additional formidable underbarrel options include:
◆ Vlad SMG Tasers
◆ Maliwan Shotgun Beam Tossers
◆ Alternate-fire Energy Disc (compatible with Jacob components), able to nearly one-shot any boss opponent
● Serves as excellent contingency option when your build experiences damage output limitations—underbarrel systems can create dramatic performance differences
Acquisition Method: For acquiring purple-tier equipment like Spread Launchers or Pen Knife variants, recommended farming locations encompass Splash Zone or Ripper Drill Sites, assuming your build possesses adequate clearing efficiency.
Core Mechanics: Includes the legendary attribute Blood Siphon—upon defeating enemies, 100% of surplus damage transforms into therapeutic spheres that actively seek nearby allies (including your character).
Strategic Advantages:
● Perfectly complements damage-focused configurations that prefer not allocating skill points toward healing or survival capabilities
● Your damage output directly correlates with healing received, enabling pure offensive builds to maintain themselves effortlessly
● Naturally incorporates respectable healing potency with abbreviated cooldown periods, establishing it among the most powerful rep kit alternatives available
Acquisition Method: Drops from Axe Mall within Abandoned Auger Mine (Toil of Spoiling Vis), Carcadia District of Dominion.

Core Mechanics: A legendary projectile blade that inflicts a debilitating effect, causing all offensive actions against the target to automatically achieve critical strikes for 5-second duration.
Strategic Advantages:
● Substantially elevates damage potential for virtually every build configuration (excluding Ordinance-focused setups)
● Functions with all damage sources—status conditions, ability damage, action skills, and conventional firearms—delivering tremendous DPS enhancement
● Exceptionally valuable during boss engagements, dramatically improving focused target burst damage capacity
● Minimal cooldown ensures practical utility even during standard combat—deploy it against durable elite or badass enemies, and they’ll disintegrate rapidly
Acquisition Method: Not explicitly detailed in available sources (legendary drop from specific adversaries or activities).
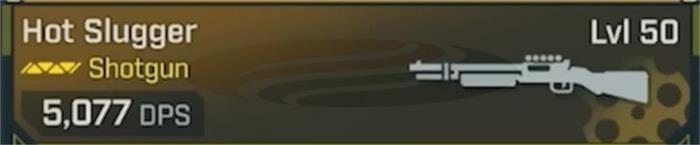
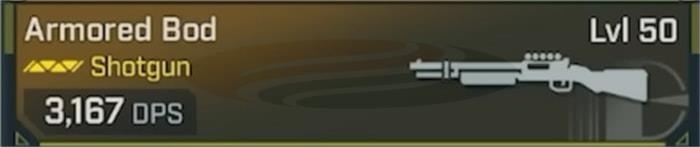
Core Mechanics: Among the most devastating legendary weapons in the game, effective for all character types. Provides extraordinary damage quantities across every build variation.
Strategic Advantages:
● Universally advantageous—no build configuration fails to benefit from its inclusion
● Can accumulate up to 90% bonus damage from non-elimination actions while wielding the firearm, rendering it superb even for melee-oriented builds
● Operates as formidable “Fight for Your Life” instrument: melee builds cannot utilize ordinance during this condition, yet this shotgun supplies an alternative solution with layered damage to facilitate recovery
● Able to eliminate most adversaries with single projectiles
● Surpasses skill-tree firearm damage enhancements (typically 25–30%) through superior scaling mechanics
● Outstanding selection for players seeking expedited campaign progression
Acquisition Method: Drops from Callus, the Harbinger of Annihilating Death, at Craven’s Nook, Order Bunker, positioned immediately above Bones of Sanctuary fast travel location.

Core Mechanics: A legendary protective barrier that generates guided missile projectiles following each enemy elimination.
Strategic Advantages:
● Excellent for enemy group management—significantly enhances clearing velocity through autonomous targeting and damaging of adjacent opponents
● Scaling mechanism ties to your firearm damage statistics, ensuring effectiveness during early and advanced level ranges
● Can activate supplementary missiles upon armor segment fractures, supplying additional damage during defensive situations or near-death circumstances
● Remarkably dependable for progression purposes: players frequently equip it during late teenage levels and continue finding it potent well beyond level 30 thresholds
● Considerably improves any build’s capacity to manage enemy clusters efficiently
Acquisition Method: Drops from Splash Zone, situated to the right of the spawn position at Abandoned Post.

Core Mechanics: Legendary protective system featuring Power Play functionality. When your energy shield reaches maximum capacity, it confers:
An overshield
+25% fire rate
+25% movement speed
1 ammunition regenerated per second
Strategic Advantages:
● Exceptionally adaptable—advantages virtually every build configuration
● The +25% movement velocity conservation prevents expenditure of multiple skill points, substantially accelerating navigation capabilities
● Supplies scarce ammunition regeneration, resolving sustainability concerns
● +25% firing frequency represents substantial improvement, surpassing most rep kit alternatives, which typically maximum at +15% enhancement
● All benefits activate concurrently, establishing it among the most comprehensively stacked shield options in the game
Acquisition Method: Drops from Violtor within Umbreal Fortress. (If narrative completion remains pending but campaign skip utilized, Violtor accessibility occurs via Substation Canonary.)
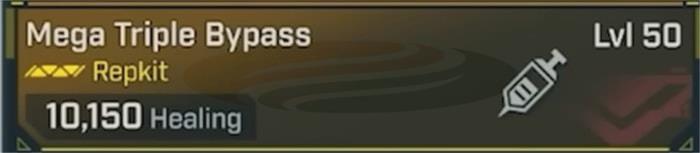
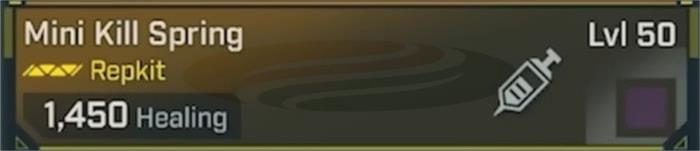
Core Mechanics: The exclusive Rep Kit variant featuring triple charge capacity; each elimination possesses 30% probability to restore one charge unit.
Strategic Advantages:
● Guarantees nearly continuous Rep Kit accessibility
● Can generate with any attribute, providing tremendous configuration flexibility
● When combined with amplification perk, can enormously increase DPS: amplify initial discharge, then reiterate with every Rep Kit utilization—effectively accumulating up to 600% damage multiplication
● You may also acquire with +40% movement acceleration, enabling sustained mobility maintenance
● Functions particularly effectively with Now with Caffeine—each Rep Kit activation decreases action skill cooldowns by 25%. With triple charges, you can realistically reduce cooldowns by 75% almost instantaneously
● Authentic comprehensive solution: exceptional for survival, damage output, and tactical utility
● Numerous players discover minimal justification for employing alternative Rep Kits following acquisition
Acquisition Method: Drops from Backhive within Abandoned Auger Mine (The Claim), located in Fadefields Dissected Plateau.
Beyond basic acquisition, mastering legendary gear utilization requires understanding advanced farming methodologies. For optimal efficiency, prioritize areas matching your current clearing capabilities rather than pursuing theoretically superior locations where your build struggles. The BF6 Weapons Unlock Guide provides complementary strategies for weapon progression that synergize effectively with these legendary items.
When farming specific bosses like Violtor, weapon selection proves crucial—certain legendaries exploit specific vulnerability mechanics that dramatically reduce engagement duration. The Battlefield 6 Complete Guide offers additional context for understanding how these items fit within broader gameplay systems.
Action Checklist
- Identify your primary gameplay focus: boss farming, challenge completion, or progression speed
- Prioritize farming locations based on your current build’s clearing efficiency
- Verify weapon kill registration by testing with basic enemies before committing to lengthy farming sessions
- Combine complementary legendaries—for example, pairing Super Soldier Shield with Triple Bypass Repkit creates synergistic benefits
- Monitor elemental resistances at higher difficulty levels and adjust your loadout accordingly
- Utilize the BF6 Class Selection Guide to optimize legendary synergy with your chosen character build
No reproduction without permission:OnLineGames Guides » Borderlands 4 Legendary Items Guide:Top 10 Must-Have Weapons & Gear Essential Borderlands 4 legendary gear for maximum damage, healing efficiency, and boss farming strategies