TL;DR
- Mimiron’s Firefighter mode requires precise vehicle phase transitions and mine avoidance
- Freya’s three guardians each require specific countermeasures and positioning strategies
- Hodir’s hard mode demands perfect NPC buff utilization and three-minute execution
- General Vezax introduces unique mana regeneration challenges requiring strategic cooldown usage
- Yogg-Saron’s keeper selection system directly impacts loot rewards and encounter difficulty
Following our initial Ulduar boss guide, we now delve into the complex encounters that test raid coordination and individual skill. These bosses feature intricate mechanics that separate casual players from progression raiders, requiring both preparation and execution excellence.
Success in these encounters demands more than just gear – it requires understanding the underlying mechanics and developing muscle memory for critical ability responses.
Mimiron
Mimiron presents one of Ulduar’s most technically demanding encounters, featuring four distinct vehicle phases that test raid coordination and individual positioning awareness.
Phase 1 introduces Proximity Mines – explosive devices that deploy near melee range, inflicting 20,000 fire damage upon activation. This near-fatal damage requires constant spatial awareness, particularly when the Leviathan Mk II begins casting Shock Blast, dealing 100,000 nature damage to anyone within 15 yards. Melee players must develop the reflex to immediately disengage while simultaneously avoiding the minefield.
During disengagement sequences, the Leviathan Mk II targets tanks with Plasma Blast, a 25,000 fire spell damage channel lasting 6 seconds. Healers must maintain spread formations to minimize Napalm Shell impact, which deals 10,000 initial fire damage plus 6,000 fire damage per second for 8 seconds. Phase 2 transitions to the VX-001 vehicle, where strategic Bloodlust deployment maximizes damage output during this vulnerable phase.
Advanced Tip: Designate specific escape routes for melee players that avoid both mine clusters and other raid members.
Freya
This encounter requires systematic elimination of three distinct guardians before engaging Freya herself. Each mini-boss introduces unique mechanics requiring specialized responses.
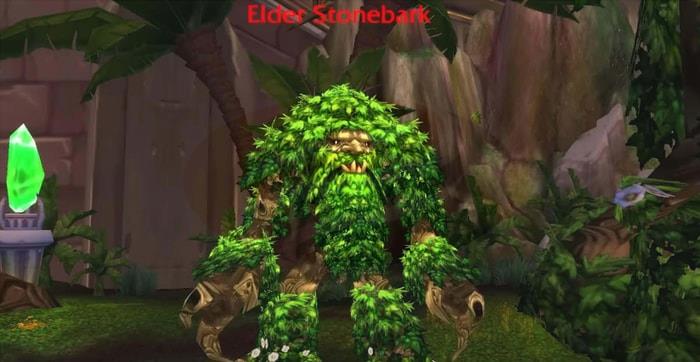
Elder Stonebark employs Ground Tremors for raid-wide damage and 8-second spellcasting interruption. His Stonebark buff reflects massive damage on melee strikes, while Fist of Stone dramatically increases his damage output while reducing mobility. Tanks must kite during this phase, similar to construct mechanics in Karazhan.
Elder Ironbranch, positioned in the rear right area, casts Iron Roots on random players. This debuff creates an NPC entity that snares the target while dealing significant damage over time. The Hand of Freedom provides instant removal, requiring designated players to monitor and cleanse affected raid members.
Elder Brightleaf completes the trio, firing high-damage bolts capable of one-shotting unprepared players. His Sunbeams both damage players beneath them and continuously empower him. Tank positioning must keep him constantly mobile to avoid sunbeam benefits.
Common Mistake: Failing to assign specific players for Iron Roots cleansing often leads to unnecessary deaths and healing strain.
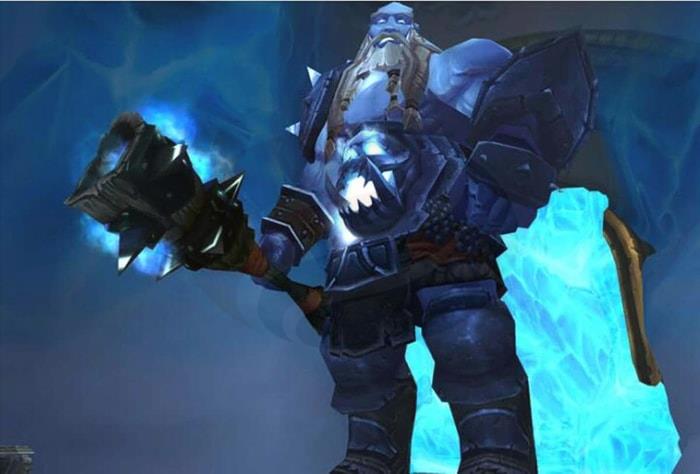
Thorim
Thorim’s encounter divides your raid into specialized teams handling distinct challenges simultaneously. The initial phase involves clearing the arena area of standard mobs.
The giant worm encounter requires facing away from the raid to prevent collateral damage. Once cleared, activating the lever on the left opens the gateway to the tunnel system.
The Gauntlet, as this tunnel is known, necessitates raid division into arena and tunnel groups, each with specific responsibilities.
Arena teams encounter four distinct add types: Commoners, Champions, Warbringer, and Evoker. Each requires different prioritization and crowd control approaches.
Optimization Tip: Assign your most mobile DPS to the Gauntlet group while placing sustained AoE specialists in the arena.
Hodir
This encounter centers around strategic NPC liberation that provides combat enhancements making the fight progressively manageable.
Initial engagement requires prioritizing Mage NPC liberation for their Melt Ice ability, accelerating subsequent releases.
Toasty Fire, cast by liberated NPCs, provides both fire damage and a stacking 2% magical damage vulnerability debuff on enemies, reaching 60% at maximum stacks. This damage amplification proves essential for hard mode completion within the three-minute enrage timer.
Druid NPCs contribute Starlight, granting 50% haste to melee combatants within its area of effect.
Biting Cold, Hodir’s signature debuff, inflicts escalating frost damage when players remain stationary. Toasty Fire proximity removes this debuff, eliminating the need for constant movement when positioned correctly.
Advanced Strategy: Pre-assign groups to specific NPC clusters and establish movement patterns that maximize buff uptime while minimizing Biting Cold exposure.
General Vezax
Aura of Despair permeates the entire encounter, preventing natural mana regeneration while reducing melee attack speed by 20%.
Searing Flames represents a critical interrupt priority, dealing massive fire damage to all enemies while reducing armor by 75% for 10 seconds. Uninterrupted casts typically result in tank fatalities.
Shadow Crash mechanics resemble faceless one attacks from Ruins of Ahn’Qiraj, requiring avoidance of the initial impact followed by strategic positioning in the residual energy field.
The Mark of the Faceless debuff requires immediate isolation of affected players to prevent raid-wide damage that simultaneously heals Vezax.
Shadow Crash residue provides significant benefits: 100% increased magical damage, accelerated casting speed, and 75% reduced mana costs, though it also decreases healing received by 75%.
Common Pitfall: Healers frequently underestimate the mana regeneration constraints and fail to coordinate cooldown usage effectively.
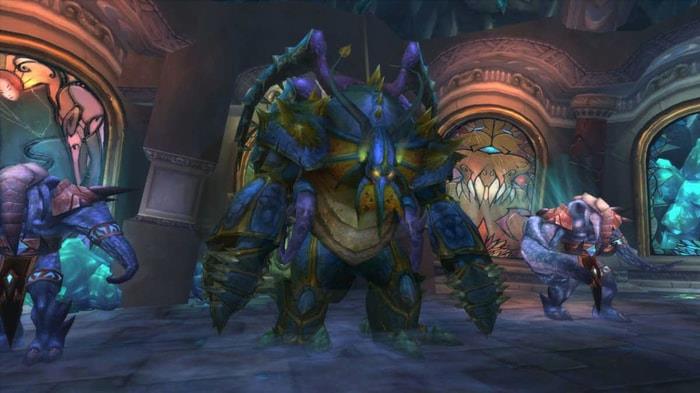
Yogg-Saron
Yogg-Saron’s encounter features a unique keeper assistance system where reduced help increases loot rewards.
The zero-light strategy represents the ultimate challenge for 25-man raids, rewarding successful completion with Mimiron’s Head mount. Ten-man raids receive the Clutches of Yogg-Saron cosmetic trinket.
Phase 2 introduces Crusher Tentacles, identifiable by their bulbous ends, which pose extreme danger to melee combatants.
Ranged DPS should prioritize these targets while Paladins utilize Judgment to counter their Diminish Power debuff.
Loot Optimization: Most progression guilds begin with one-light attempts before progressing to more challenging configurations.
The keeper selection directly impacts both encounter difficulty and reward quality, requiring strategic decision-making based on raid capability.
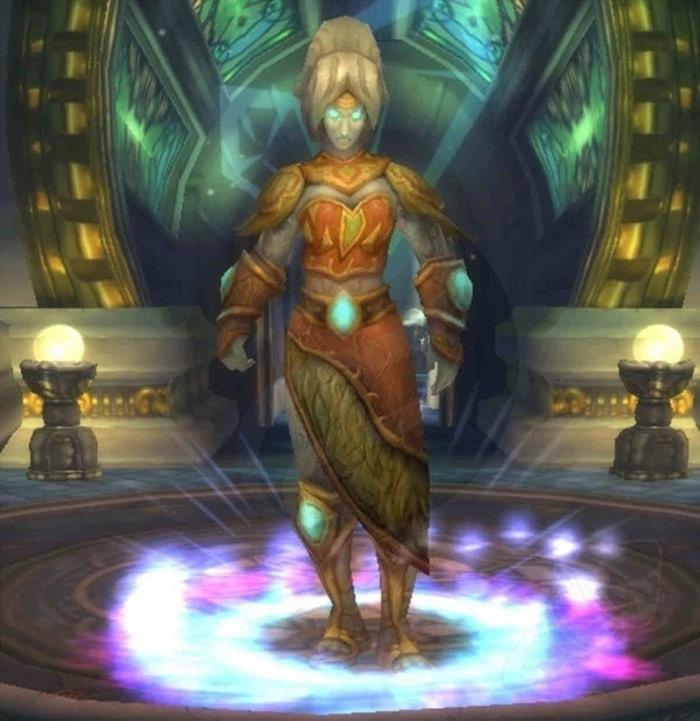
Algalon the Observer
Accessing Algalon requires completing a specific quest chain involving hard mode victories against the Iron Council and all four Keepers.
Initial weekly pull activates a strict one-hour attempt timer, after which Algalon permanently despawns.
Progression attempts demand maximum focus and preparation, as the limited timeframe restricts experimentation and learning opportunities.
Time Management: Schedule dedicated raid sessions specifically for Algalon progression to maximize attempt efficiency.
Strategic cooldown preservation and flawless execution become mandatory within the constrained attempt window.
Action Checklist
- Study each boss’s hard mode activation requirements and prepare specific strategies for each
- Assign dedicated players for specific mechanics (Iron Roots cleansing, Shadow Crash positioning)
- Practice vehicle phase transitions for Mimiron on normal mode before attempting Firefighter
- Coordinate healer mana cooldowns for General Vezax’s Aura of Despair
- Establish communication protocols for Thorim’s split groups
- Plan your Yogg-Saron keeper selection strategy based on raid capability assessment
No reproduction without permission:OnLineGames Guides » WotLK Ulduar Boss Guide: Part Two Master Ulduar's toughest encounters with advanced strategies, hard mode tactics, and essential raid preparation tips