TL;DR
- Templars excel as versatile hybrid characters capable of healing, damage dealing, and tanking
- Three distinct skill lines (Aedric Spear, Dawn’s Wrath, Restoring Light) enable deep customization
- Featured builds include the durable Dreadnought healer and flexible Resto Warrior
- Advanced players should master resource management and skill synergies for optimal performance
- Proper gear selection and combat positioning significantly impact Templar effectiveness
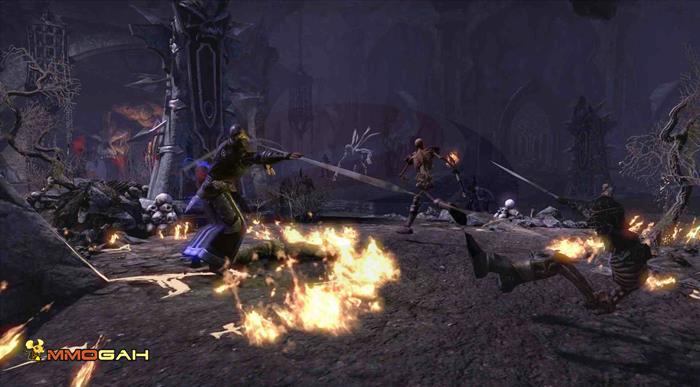
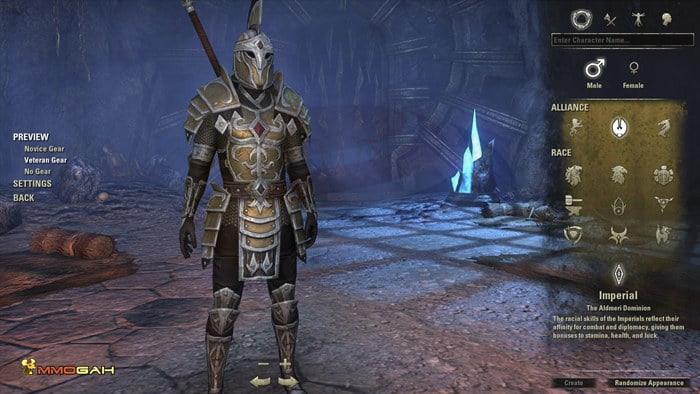
The Templar represents one of the core Classes available in Elder Scrolls Online, embodying the archetype of divine warriors who harness solar energy for both offensive and defensive purposes. These holy champions utilize light-based magic to inflict substantial damage against enemies while simultaneously restoring health, magicka, and stamina to their companions. Templars function as defensive specialists, channeling solar power to fortify themselves, assist allies, and purge adversaries with sanctified spells. Typically equipped with heavy armor and sturdy shields, they serve as pillars of order and righteousness throughout Tamriel.
A Templar’s combat prowess proves particularly formidable when confronting supernatural threats, including dark mages, daedric entities, and undead horrors. Their specialization focuses on safeguarding allies through intercepting incoming attacks or mending injuries sustained by comrades. Templars can concentrate their development across three unique class skill trees, offering players the freedom to specialize deeply in one discipline or distribute points across multiple lines for hybrid configurations. Many experienced players consider the Templar the most adaptable class in ESO due to its exceptional versatility across multiple roles.
Understanding the Templar’s core mechanics is essential for maximizing effectiveness. The class naturally synergizes with both stamina and magicka builds, though each approach requires different gear and skill prioritization. New players often underestimate the importance of balancing offensive capabilities with supportive functions, which is where the Templar truly shines compared to other classes.
Similar to other ESO classes, Templars access three primary skill trees: Aedric Spear, Dawn’s Wrath, and Restoring Light. Players can concentrate on enhancing abilities within a single category or blend skills, spells, and capabilities from multiple trees to craft a character aligning with their preferred playstyle. Each skill line serves distinct combat functions and synergizes uniquely with various gear sets and champion point allocations.
The Aedric Spear line emphasizes melee combat and offensive capabilities, featuring abilities like Puncturing Strikes that deliver consecutive attacks and Solar Barrage which enhances weapon damage. This tree particularly benefits stamina-based Templars who prefer close-quarters engagement.
Dawn’s Wrath focuses on magical assaults and debuffing enemies, with skills such as Solar Prison that immobilizes foes and Radiant Destruction that executes low-health targets. Magicka-focused Templars typically prioritize this skill line for its potent area-of-effect damage and crowd control utilities.
Restoring Light provides comprehensive healing and defensive support, including Rite of Passage for emergency group healing and Honor the Dead for targeted single-target recovery. Healer Templars maximize this tree’s potential while often supplementing with Restoration Staff abilities for enhanced supportive capabilities.
We’re excited to present an exceptional Templar configuration from community member Dreddnawt. If you enjoy maintaining ally survivability while possessing substantial personal durability, consider testing the Dreadnought build during your next dungeon exploration or Cyrodiil campaign. Discover which capabilities sustain this resilient healer through intense combat scenarios!
This player-contributed configuration will convince opponents that you and your companions are virtually unkillable. My character is an Orc Templar called Dreddnawt, extensively equipped with weaponry and protection that emphasizes absolute survivability for both himself and allies. The Dreadnought independently possesses sufficient offensive power to overcome most encounters and rapidly handle boss fights. In group situations, Dreadnoughts deliver massive healing from the heart of combat while remaining effective in both PvE and PvP environments.
Dreadnoughts prioritize, above all else, healing responsibilities. We safeguard our companions and consequently don’t emphasize lethal capabilities as heavily. A combination of heavy armor foundation supplemented by light armor pieces maintains high magicka reserves while delivering substantial physical and magical protection.
Next, we introduce the Resto Warrior, a configuration that will maintain you and your allies combat-ready during the most intense engagements. By DavidJimmy. “Currently, we’re highlighting a frontline support setup with an intriguing concealed aspect.”
I designed my character to replicate my cherished Skyrim (and Oblivion) protagonist that provided such enjoyment. He was a two-handed, heavily-armored fighter utilizing Restoration spells. Naturally, the Templar represented my selection for this archetype. While both my ability bars primarily focus on damage output, I concentrate my hero on delivering respectable damage while supplying group assistance.
Timedawn’s DPS Templar
Primary resource: Stamina
Mastering Templar gameplay requires understanding several advanced concepts that significantly impact performance. Resource management proves crucial, as improperly balanced stamina and magicka can leave you ineffective during critical combat moments. Positioning represents another vital consideration—Templars must balance staying close enough to heal allies while avoiding dangerous enemy attacks.
Common mistakes include overcommitting to offensive abilities while neglecting defensive preparations, or specializing too heavily in one skill line without considering synergistic possibilities. New Templars often struggle with ability rotation timing, particularly when transitioning between healing and damage-dealing phases during combat.
Optimization tips for experienced players include weaving light attacks between skill activations to maximize damage and resource regeneration. Additionally, understanding which skills scale with weapon damage versus spell damage helps optimize gear and attribute point allocation. For those interested in broader class mechanics, our Class Guide provides comprehensive insights into specialization strategies.
Gear selection dramatically influences Templar effectiveness. Heavy armor sets like Battalion Defender enhance survivability for frontline Templars, while light armor combinations such as Law of Julianos boost magical capabilities for healers and damage dealers. Understanding set bonuses and how they interact with your chosen skills separates competent Templars from exceptional ones.
Advanced combat techniques include animation canceling to increase skill execution speed and proper ultimate ability timing for maximum impact during group engagements. These advanced tactics typically require 10-15 hours of practice to master but substantially improve overall performance once incorporated into your gameplay repertoire.
Action Checklist
- Choose your primary role (healer, damage dealer, or hybrid) and allocate attribute points accordingly
- Select appropriate skill lines based on your chosen specialization and preferred resource (stamina/magicka)
- Acquire and upgrade gear sets that complement your build objectives
- Practice basic combat rotations on training dummies or in low-level zones
- Master advanced techniques like animation canceling and resource management in solo content
No reproduction without permission:OnLineGames Guides » The Templar Guide of the Elder Scrolls Online Master the versatile Templar class in ESO with comprehensive builds, skill guides, and advanced combat strategies